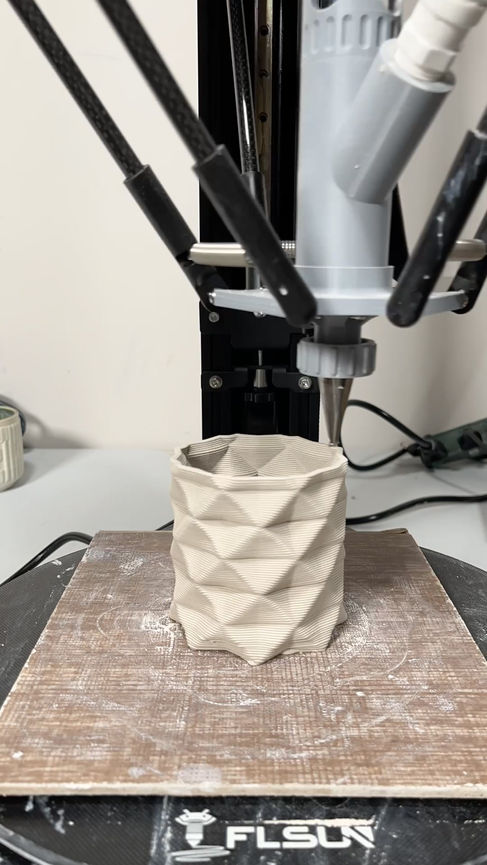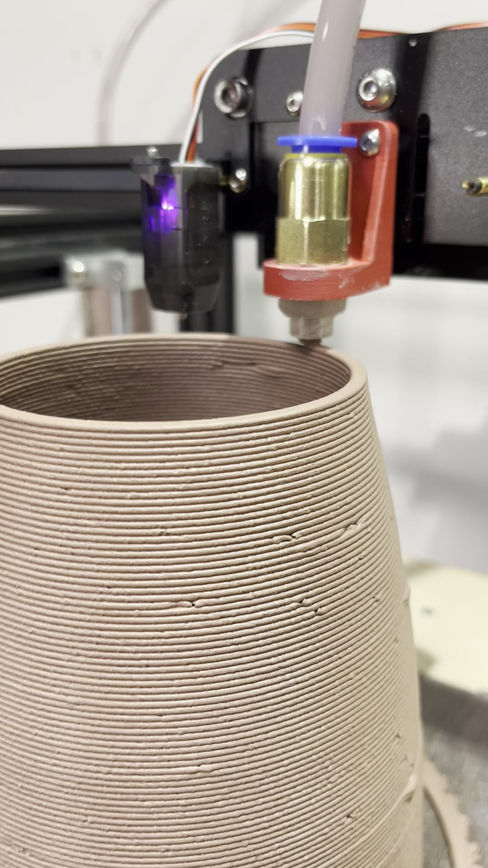
Ceramic 3D Printer
Project Prompt
As a ceramic artist and engineer, I explore how modern technologies—software, robotics, AI, and 3D printing—can redefine handcraft. I’m particularly interested in blending 3D printing with traditional ceramics to create forms neither could achieve alone.
This project's aim is to design and build a clay 3D printer.
Background / Constraints
There are a variety of companies manufacturing and selling clay 3D printers. I chose to build my own for three main reasons.

Cost
Commercial machines cost many thousands of dollars. I knew I could do it for cheaper.

Customizability
I wanted to be able to control and modify every aspect of my machine.

Fun :)
I was excited for the challenge and wanted to use it to gain a deeper understanding of 3D printing.
Research
I started by researching everything I could find on non-traditional 3D printers (not just for clay - cement, chocolate, dirt, etc.). I found some fantastic resources that became instrumental.
Diego Garcia Cuevas and Gianluca Pugliese
Jonathan Keep
The biggest takeaway was that there needs to be harmony between the slicer settings and the physical properties (consistency, viscosity, etc.) of the clay. As long as the machine can continuously extrude material, it doesn't need to be fancy.
Version 1
I started simple. I had a Creality Ender 5 Pro from my Conformal 3D printer project that I decided to retrofit with an mechanical ram extruder I bought online.

I used Fusion360 to redesign the gantry to mount a new nozzle and clay-carrying tube.


This set-up worked reasonably well, and I made some cool stuff.


Road Blocks
A few weeks into printing with version 1, I started to run into some problems.
Problem: The extrusion motor kept skipping steps and stalling.
Cause: Motor not powerful enough, clay too viscous, too much resistance through feed tube + nozzle.
Problem: Air bubbles kept wrecking prints.
Cause: Clay mixture wasn't de-aired well enough.

Size: NEMA 23
Holding Torque: 1.2 [Nm]
Rated Current: 2.8 [Amps]
Voltage: 5.2 [Volts]

Possible Solutions
A: Change the Motor Set-up
-
Get a more powerful motor (also need new power supply and controller)
-
Get a gearbox with a larger gear ratio (expensive and extrudes slower)
B: Change Clay Mixture
-
Use softer clay (pieces collapse)
C: Change the system
-
Shorter feed tube (restricts build volume)
-
Bigger nozzle (makes the walls too thick)

Size: NEMA 23
Holding Torque: 3.0 [Nm]
Rated Current: 4.2 [Amps]
Voltage: 36 [Volts]


After some testing, I found that the extruding nozzle diameter was a big contributor to the system's resistance - far more than the friction from the tube.
Even if I solved the motor problem by changing the nozzle, I still had the issue of air bubbles in the clay.
Thankfully, I was pretty sure I could solve both issues by changing the way the clay extrudes.
Version 2 - Adding a Reciprocating Screw Drive
Taking inspiration from Piotr Wasniowski, a cool Engineer and Artist from Poland, I added a screw drive powered by a small, separate motor directly to the nozzle. I also decided to use a Delta Printer (FLsun SuperRacer) this time because I wasn't sure if the Ender 5's gantry would be sturdy enough (and the SuperRacer wasn't getting any use).
I leaned on Piotr's basic concept but redesigned all of the components to fit the SuperRacer printer.


The primary purpose of the screw is to mix and de-air the clay, however, because I was using a mechanical ram (as opposed to compressed air like Piotr) I also needed it to power the clay extrusion through the nozzle. Eventually, after a lot of trial and error with slicer and g-code settings (I use Cura), I was able to completely control the flow of clay both into and out of the extruder by matching the feed rate with the extrusion rate.
I started printing again and was pleased to find that I encountered no more air bubbles and the motor was no longer over heating.

Results

Cost
Because I already had the 3D printers, the only costs were for:
-
Research materials = $30
-
Motor (+controller and PSU), gearbox, ram/plunger = $300
-
Misc. hardware and tubing = $30
-
3D printer filament = $10
Total Cost = $390
(Comparable ones on the market range from $700-$3500)

Customizability
I can customize virtually any part of the machine without worrying about voiding warranties.
-
nozzle size/shape
-
print speed
-
material properties
-
etc.

Fun
I had fun :)
Today, I'm focusing on ways to use the printer to create unique forms that have never been possible before. I use Fusion360, Rhino/Grasshopper, ai LLMs, GravitySketch, 3D scanners and more to build interesting 3d geometry to print. Here are some more pictures from along the way.


